Trezor.io/start (Official) | Set up your #Trezor Model One
In the fast-evolving world of cryptocurrency, safeguarding your digital assets is not just a recommendation—it's a necessity. Trezor.io/start serves as the official onboarding platform for Trezor hardware wallets, offering users a secure and user-friendly environment to set up their devices. Whether you're new to crypto or a seasoned investor, using a hardware wallet like Trezor ensures your private keys are protected from online threats.
Why Choose Trezor?
Trezor, developed by SatoshiLabs, is one of the most trusted names in crypto security. It offers two major models: Trezor Model One and Trezor Model T. Both provide offline (cold storage) protection, enabling users to store cryptocurrencies securely, away from the reach of hackers.
Unlike software wallets that are constantly connected to the internet, Trezor wallets generate and store private keys within the device, making it nearly impossible for cybercriminals to access your funds.
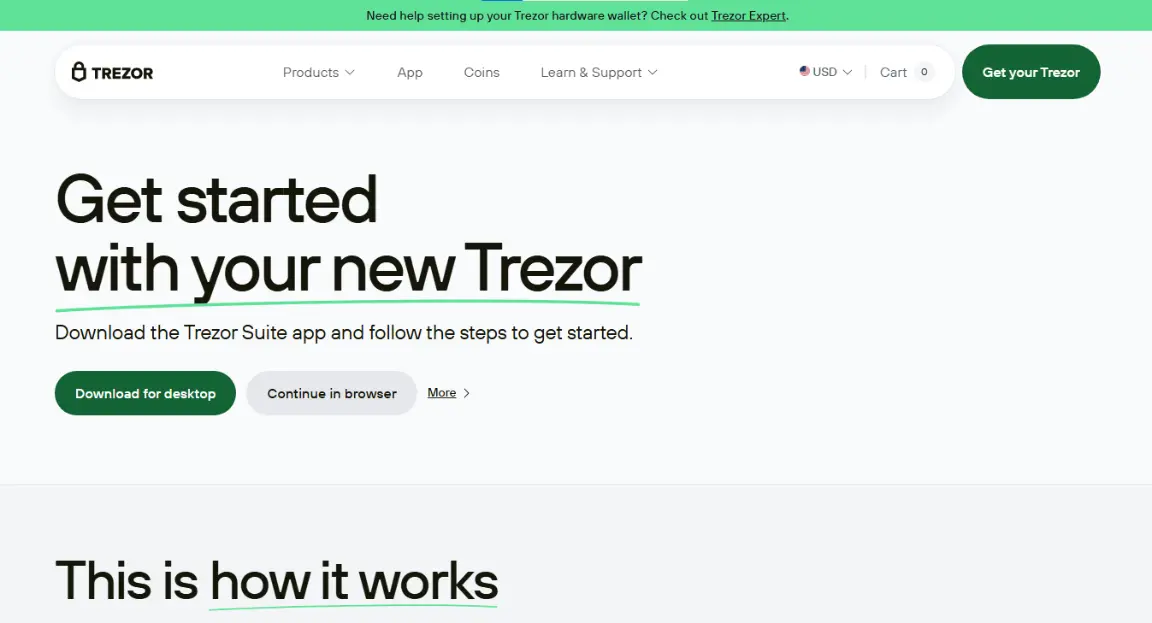
Getting Started with Trezor.io/Start
Setting up your Trezor wallet is a straightforward process. Here's how to get started through the official website: Trezor.io/start.
Step 1: Unbox and Connect
Start by unboxing your Trezor device. Connect it to your computer or smartphone using the provided USB cable.
Step 2: Visit Trezor.io/start
Open your browser and go to Trezor.io/start. This is the only secure and official site to initiate your wallet setup. Here, you'll be prompted to choose your device model (Model One or Model T).
Step 3: Install Trezor Suite
Trezor Suite is the official desktop application used to manage your cryptocurrencies. It's compatible with Windows, macOS, and Linux. Download and install it directly from the site to ensure authenticity.
Step 4: Firmware Check & Update
When connected, your Trezor device may prompt a firmware check. If needed, update it through Trezor Suite. This ensures your wallet is operating on the latest, most secure software.
Step 5: Create a New Wallet
Follow the on-screen instructions to generate a new wallet. This will include creating a recovery seed—a 12 or 24-word phrase that is critical for recovering your wallet. Write it down and store it in a secure, offline location.
Step 6: Add Coins & Start Transacting
Once your wallet is set up, you can add supported cryptocurrencies like Bitcoin, Ethereum, and more. Trezor Suite allows easy coin management, sending, receiving, and portfolio tracking.
Benefits of Using Trezor
- Advanced Security: Military-grade encryption and PIN protection.
- Multi-Currency Support: Supports 1000+ coins and tokens.
- User Control: You own and control your private keys.
- Open-Source Code: Transparent and independently audited.
- Regular Updates: Frequent firmware and software improvements.
FAQs
Q1: Is Trezor.io/start the only official setup site?
Yes, always use Trezor.io/start to avoid counterfeit products or phishing sites.
Q2: What if I lose my recovery seed?
Without the seed, you cannot recover your wallet. It’s critical to store it safely and never share it.
Q3: Can I use Trezor on mobile?
Yes, Trezor Suite Web and third-party apps can be used on Android. iOS support is limited.
Q4: Is Trezor better than software wallets?
In terms of security, hardware wallets like Trezor offer significantly better protection than software wallets.
Q5: Is the setup process beginner-friendly?
Absolutely. Trezor provides detailed instructions and an intuitive user interface, making setup simple for beginners.
Final Thoughts
Trezor.io/start is your gateway to crypto security. With a reliable setup process and top-notch encryption, Trezor helps ensure that your digital assets remain safe in a world of increasing cyber threats. Always use the official website and follow security best practices to protect your investments.